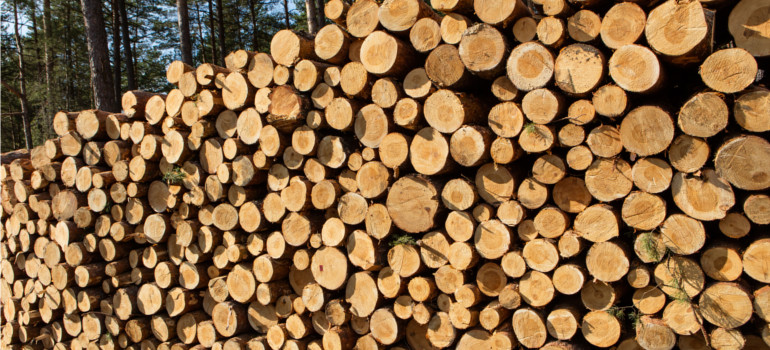
If you have an open fire or a wood-burning stove in your home, you are well aware of the joy and comfort they bring on cold nights. But you may also know how difficult it can be to provide a dry, sheltered space to store logs during the wetter winter months.
Fear not! Summer is the perfect time for completing DIY projects in preparation for the coming winter, and we are happy to present you with this guide on how to build a log store from wooden pallets.
Table of Contents
Supplies you will need
- Claw hammer;
- Crowbar;
- Combi drill;
- Hand saw;
- Tape measure;
- Pencil;
- Screws and nails;
- Four pallets of the same size;
- Wood stain and brush.
How to plan your log store
Before diving straight into the fun and exciting building process, it is important to plan properly. The old adage “Measure twice, cut once” exists for a reason. First, you should measure the pallet you will use as a base and choose an area with enough space to place the finished log store.
The best place for a log store is one that is easily accessible, preferably shielded from the worst of winds and rain. Look for areas near your house, garden walls, or hedges.
How to make a log store from wooden pallets
Now that you have all of the needed supplies and have found the perfect place, it is time to start the building process.
- The first step is taking the pallets apart. Break down all of the pallets with the claw hammer or crowbar, but leave one intact to use as the base. You can either stain all of the pieces now or as you need them.
- Building the back. Select five pieces of wood and lay them on the ground horizontally. Attach another three pieces with screws placed vertically to act as supports. If you didn’t already, stain the entire back structure.
- Supportive corners. Cut and stain four more pieces of wood to act as the corner supports, then attach them with screws to the base. Following this, attach the back piece to the base.
- Support for strength and shape. Cut and stain two long and two short pieces of pallet wood to serve as supports for the top and sides of the structure. Now, attach the additional supports with screws.
- Adding the sides. Flip the structure onto one side and attach an additional four pieces of wood. When finished, do the same with the other side. The structure should now resemble a wooden cage missing a roof and a front panel.
- Build and attach the roof. Attach another piece of wood to the back of the top support. Next, nail three pieces of wood running from the front of the structure to the back to support the roof. This will give the finished log store a sloped roof so that rain and snow don’t accumulate. Stain the plywood and nail it in place on top of the log store.
- If you require more storage space, follow the previous steps to build another log store.
Need a Handyman?
Enter your postcode to view our rates and availability in your area.
For questions about the services we offer visit our main site or you can always call us at 020 3404 4045
Safety precautions
As with any DIY project, you should only start the building process when the appropriate safety precautions are in place.
- Choose the pallets. With the amount of pressure and weather pallets have to withstand, it should come as no surprise that many are treated with powerful chemicals. The ends of pallets are stamped with information relating to the treatment method used, as well as other information, such as the country of origin. But you only need to concern yourself with the treatment method.
- Pallets stamped with HT. HT stands for Heat Treatment. This method involves the wood being heated to its minimum core temperature as opposed to traditional chemical treatments. These are the pallets you should be looking for as they can be safely reused or burnt.
- Pallets stamped with MB. MB stands for Methyl-Bromide Fumigation. i.e. such pallets are treated with a very powerful pesticide. This means that they should not be used for building or heating purposes. Although this method is not popular anymore, it is still possible to find pallets treated in this fashion.
- Wear safety goggles or safety glasses. As you will be cutting and handling wood, it is important to wear eye protection. A finished log store is not as important as your eyesight. Plus, no one wants to sit in a hospital waiting room for an easily avoidable injury.
- Familiarise yourself with the use of your tools. Having knowledge of, and confidence in, using all of the needed tools will greatly reduce the chances of sustaining an injury.
- Use the right tool for the right job. Using tools in ways they were not intended for is a quick way to ensure you spend the afternoon in your local A&E facility.
- Keep in mind that your safety and well-being is more important than the finished project. Remain alert and aware of your surroundings to avoid accidents, such as tripping over pallets or tools.
So, there we have it, your guide to building a log store from wooden pallets. With this guide and some hard work, your logs will be kept dry and tidy throughout the winter months. Just remember that your safety should be your top priority. Take all appropriate safety measures and not only will you have a new log store, but you’ll also keep all of your fingers intact.
Image Source: Marcinska/depositphotos.com


Leave a Reply